- Seen : 236 View
1. Connect the power cord, select the appropriate gear, and press the "Set" button to set the system. If there is no need to adjust, proceed directly to the next step.
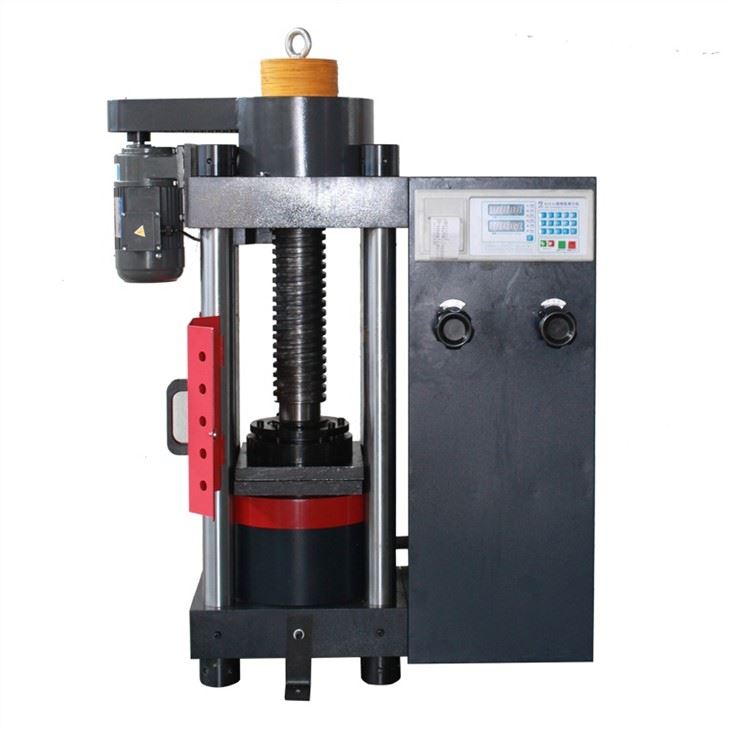
2. Press the "reset" button to reset, place it in the specimen, aim at the center position, then rotate the handwheel, adjust the screw rod, make the upper pressure plate about 5mm from the specimen, press the "start" button to start the motor (the red signal light is on, if not, the speed will not be displayed, and the test data cannot be saved and printed).
3. Close the oil return valve, slowly open the oil feed valve, and control the loading at the required rate until the specimen cracks.
4. Open the oil return valve, close the oil feed valve, and remove the pieces of the specimen. According to the same method and put in the second, the third piece of specimen.
5. Open the oil return valve to unload, press the "Print" button to print out all the test contents, press the "Stop" button to stop the motor and turn off the power supply when the test is over.
6. When doing the test of the same size test block, it is best not to turn the handwheel and let the piston fall back freely, which not only ensures the test accuracy, but also saves time.
7. When the piston exceeds the maximum stroke (about 20mm), the proximity switch plays a protective role and the press stops working. At this time, the oil return valve handle should be opened to make the piston drop a certain distance, and then the test should be carried out again.
8, the testing machine in the process of work, when the control system is abnormal, please directly turn off the power switch.
9. The shell of the testing machine must be safely in contact with the ground.
Saler Company Information